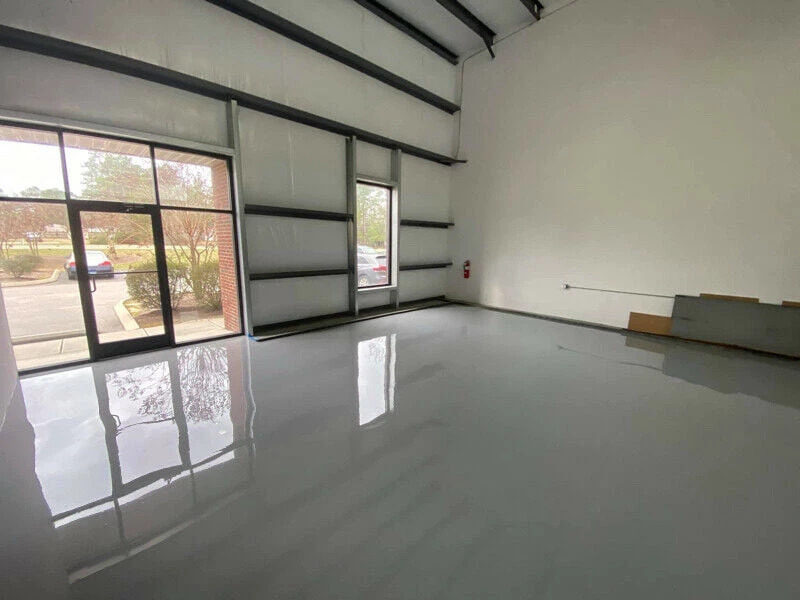
The epoxy floor is an important component of your garage. It provides a hard, durable surface that will resist the abuse of tires and other automotive equipment. The epoxy coating also protects against water damage and can easily be cleaned with soap and water. If you’re planning on epoxying your garage floor, then it’s important to properly prepare the surface before you begin applying epoxy. The process takes about two hours for one coat; this article will detail each step by step process on how to prep your garage floor for epoxy.

1. Clean the Surface
To install epoxy on garage floor, you’ll first need to clean it. Simply wash away dirt using warm water mixed with liquid dishwashing detergent. As a safety note, epoxies are highly flammable so you should never use a power washer or similar equipment to clean the epoxy floor.
2. Apply a Primer
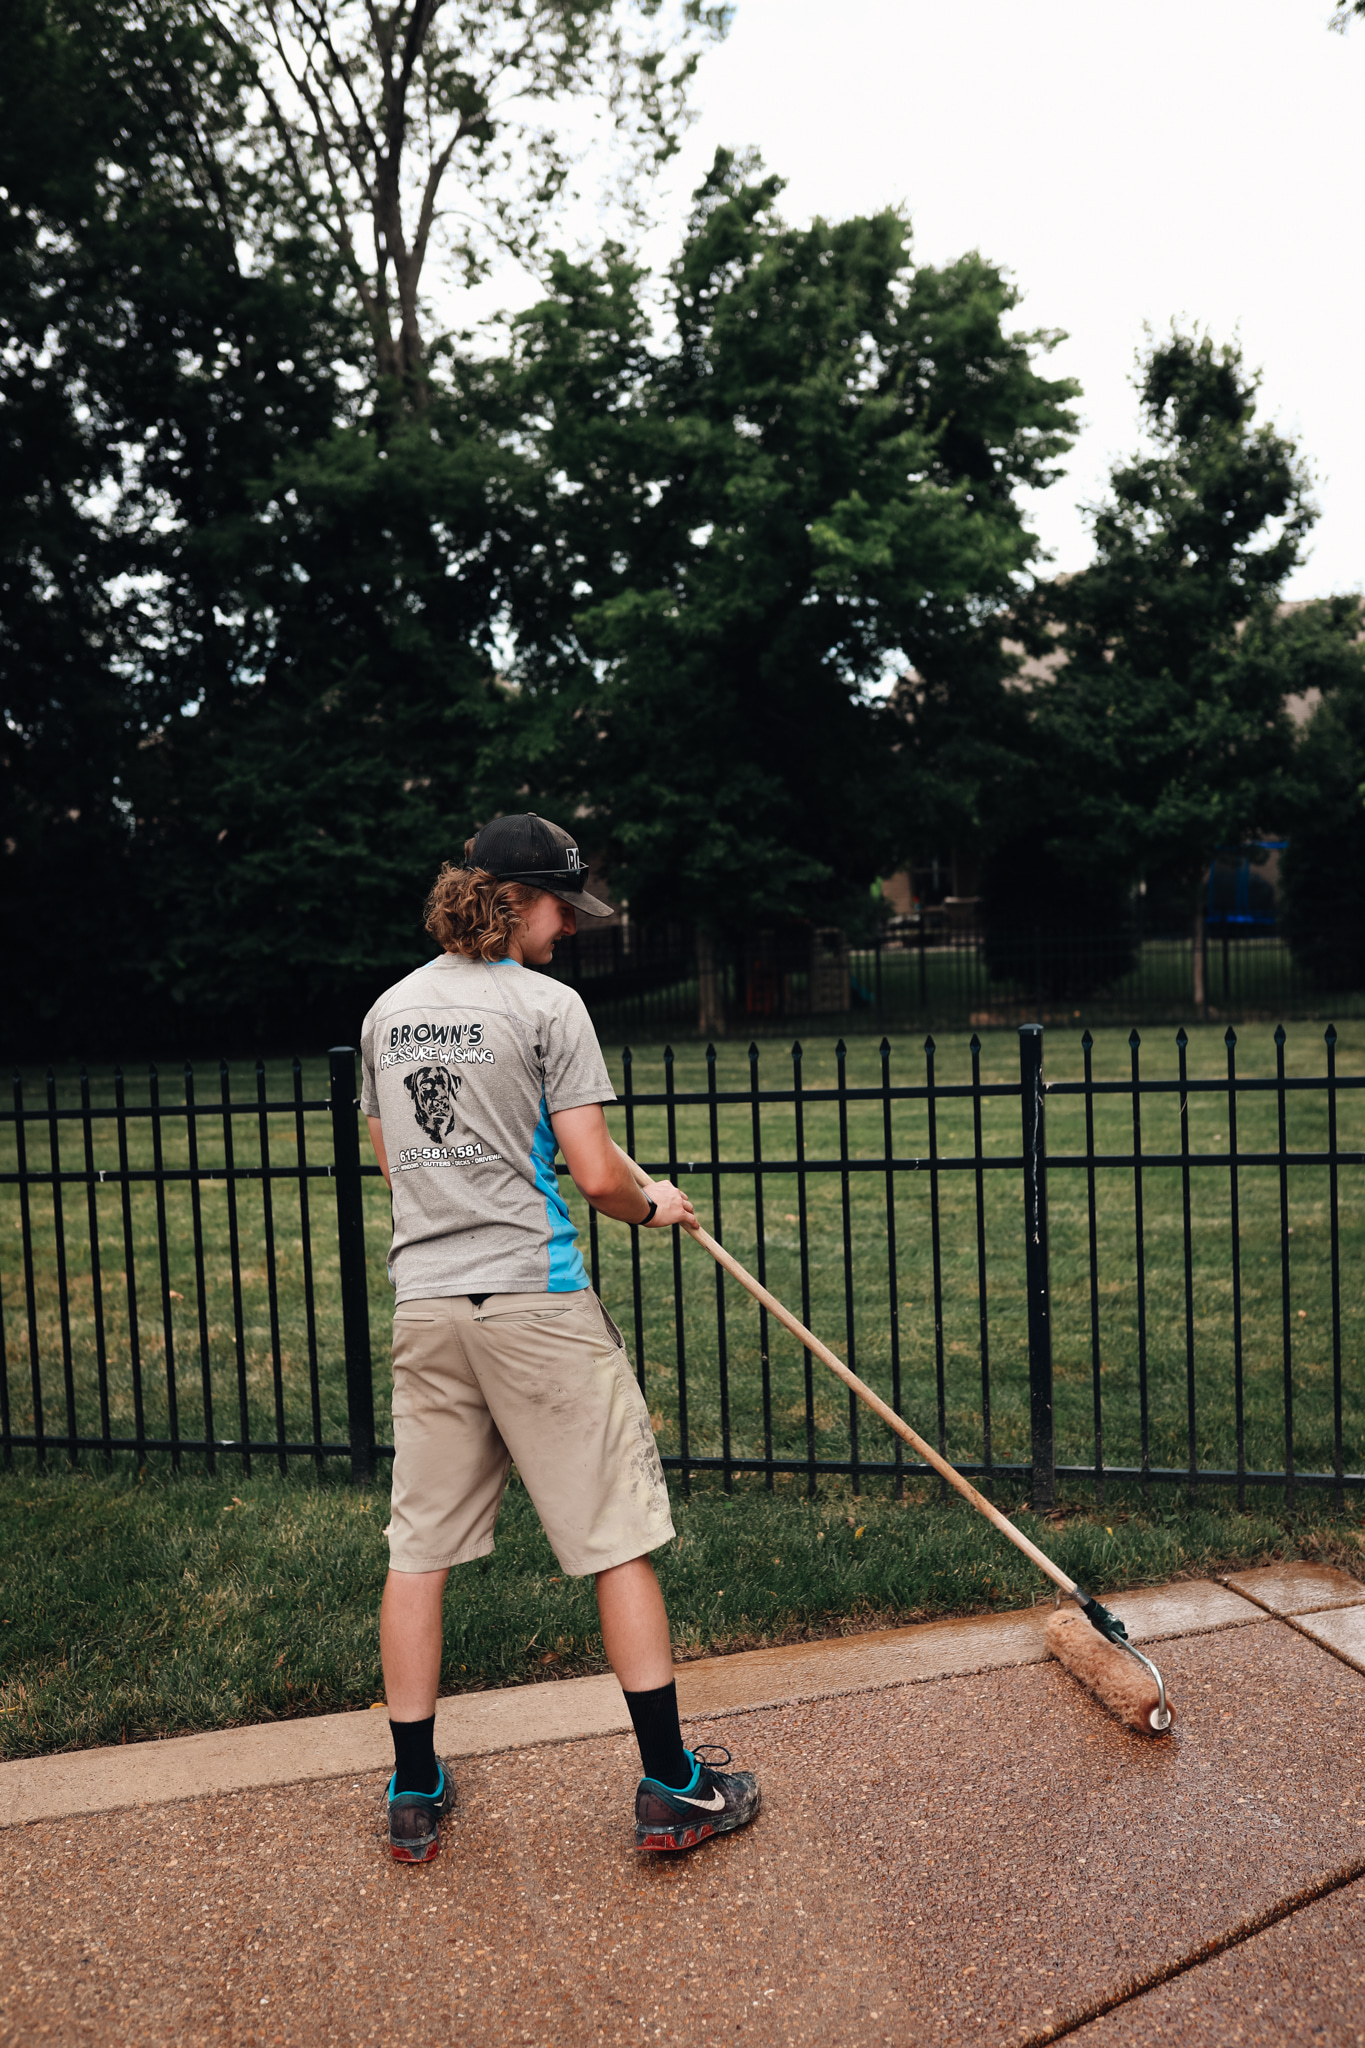
Before applying epoxy coatings to your garage floor, it’s important that you first apply an epoxy primer! This is because epoxies have been known to chemically react with oil-based products and chemicals; as such, priming the surface before coating will ensure that any chemical substances don’t interact with the epoxide itself. In addition, this also ensures proper adhesion between two separate layers of epoxy (i.e., if you plan on layering more than one layer). Primers can be purchased from most home improvement stores and epoxy manufacturers. You’ll also need a paint-roller or sprayer to apply the primer evenly over the surface of your garage floor.

3. Apply an Epoxy Coating
Now that you’ve applied epoxy primer, it’s time to move onto adding epoxies! Using a paintbrush (or roller) will ensure even coverage; just make sure not to use too much epoxy at once as this could cause small bubbles in your coating which can be difficult to remove later down the line. In addition, don’t forget about any areas where tires roll through such as inner corners and edges; these are prime spots for chemical build up so take extra care when applying epoxide to these areas. Allow epoxy coating to dry completely before continuing onto step four.
4. Brush on a Topcoat
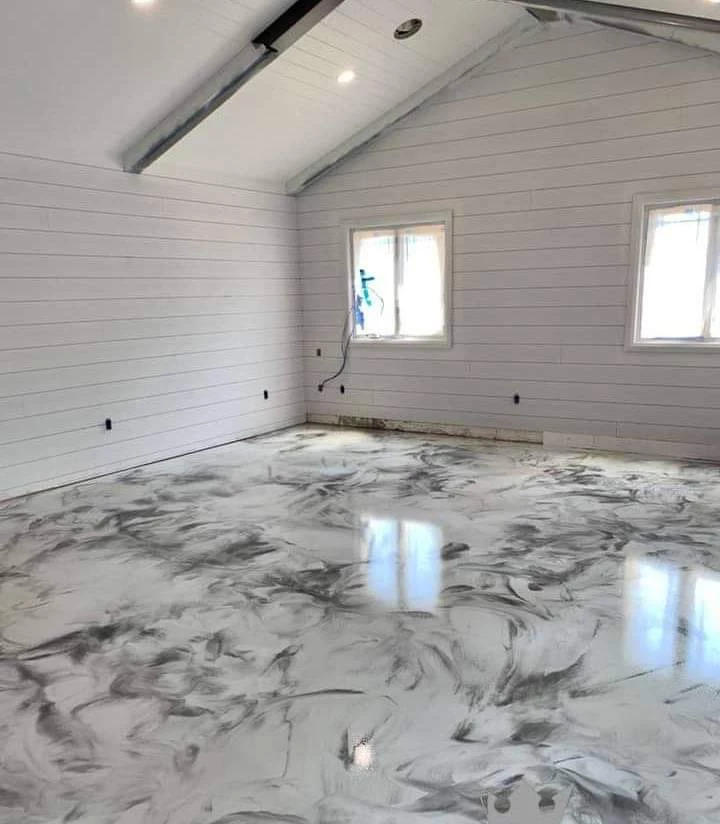
Once epoxies have dried, apply another layer of epoxy topcoats for garage floors. Again, make sure that the first coat is properly allowed to dry, or you’ll run into some problems with adhesion later down the line! Once fully cured (usually between six and eight hours after application), it’s safe to move your car back into the garage as well as park your motorcycle without fear of scratching up newly applied epoxide layers. And if you’re worried about tire marks showing up against freshly epoxied surfaces then don’t be most home improvement sells special products meant specifically for epoxy floors that can be used to clean up epoxies.
5. Clean Up and Caring for Your Garage Floor
After epoxy floor installation, you’ll want to avoid any scratching or damage from tires, motorcycles, etc. which could cause chemical reactions with the epoxide layers. This means avoiding using oil-based soaps when cleaning your garage floor; instead opt for a gentle dishwashing liquid such as Dawn to prevent damaging your epoxied surface! Once fully cured (usually between six and eight hours after application), it’s safe to move your car back into the garage as well as park your motorcycle without fear of scratching up newly applied epoxide layers. And if you’re worried about tire marks showing up against freshly epoxied surfaces then don’t be most home improvement sells special products meant specifically for epoxy floors that can be used to clean up epoxies.

6. Apply a Sealer or Wax
Finally, you’ll want to apply another protective layer of sealant (or wax) to keep your garage floor’s epoxide coating protected from dirt and chemicals as much as possible! This will help ensure all-day protection against any harmful substances which could compromise your newly applied coating layers!
In the end, epoxy coating your garage floor is a great way to add extra value to your home while sparing no expense for increased safety, improved aesthetics, and creating an all-around enjoyable environment. Here at Concrete Coatings Nashville, we are here to take care of you and your home, stress-free and guaranteed.
Give us a call today or fill out our online form for a free estimate to have your garage floor coated for a long lasting, high quality finish. Check out our gallery of before and afters! Click here!

